
I wanted to share a tutorial I had up on the Fancy Pants blog recently. It is a clever little altered project that popped up in my Pinterest feed a while back.

I started with this simple spool of ribbon 1.5" ribbon, that I picked up at the Dollar store, and a couple of embellishments from the Flutter collection that I thought I may want to use.

To begin, I removed the entire length of ribbon form the spool, and then used my craft knife to separate the "lid" or top portion (where the price tag was located) from the spool itself. This will expose the round cavity in the center that makes up the spool on which the rioon in wrapped. I then decorated that top portion by cutting a round piee of patterned paper just slightly larger than the top of the spool to make it easier to act as a lit. Cutting this piece larger than the "lid" itself, also gave me more space on which to add my embellishments (see the 1st image above). You can also see in the photo above that I decorated the bottom of the spool in the same manner, and covered the plastic spool section with a strip of patterned paper.

Remember that ribbon you removed from your spool? Grab it and lay it down on your work surface. Measure about 2 inches of ribbon and mark that spot. It is at this point that you will glue the top of your newly altered lid. Next to that, leaving very little space in between, begin to glue down your photos, neatly and straight, keeping the ribbon lined up directly in the middle of each photo.

Notice that I cut just a few more blank pieces of cardstock to act as journaling cards, randomly placed in between some of my photos. I even decided to make a title page to my album, as it just made the album seem more complete to have one.
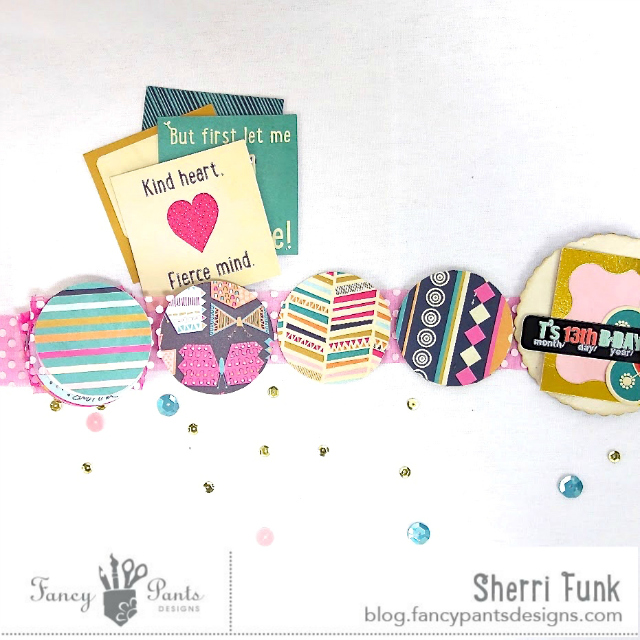


And there you have it, a sweet little photo box of sorts to store all your precious photos, and memories from a noteworthy even in your family. This one is currently being loved and adored by my girl. Thirteen is a pretty special birthday, and this little photo collection captures all the fun, and giggles, stories, and gifts, food, and friends with whom she got to share her special day.
Thanks for stopping by today friends!
Thanks for stopping by today friends!


1 comment:
How fun is this?!?!?! I love it!!!!!
Post a Comment